
|
|
|
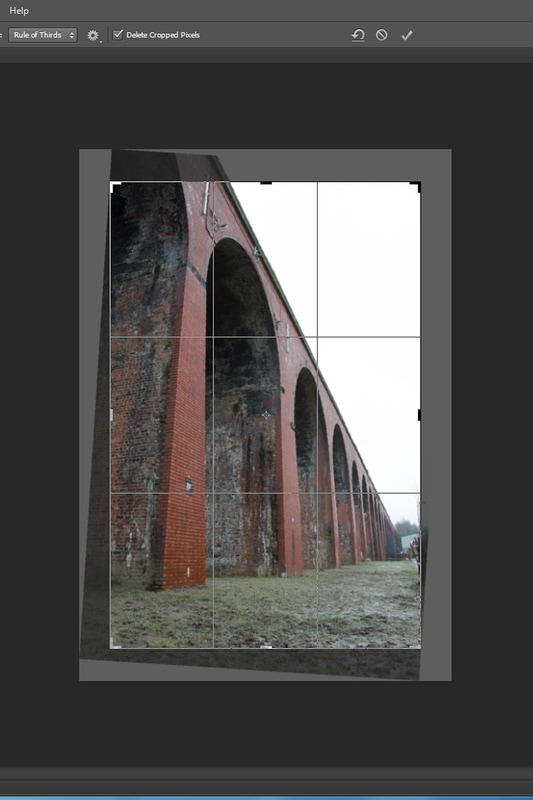
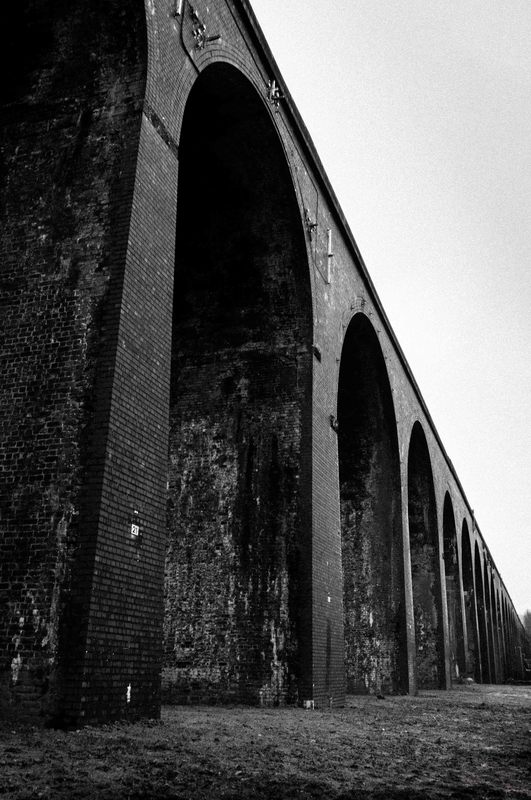
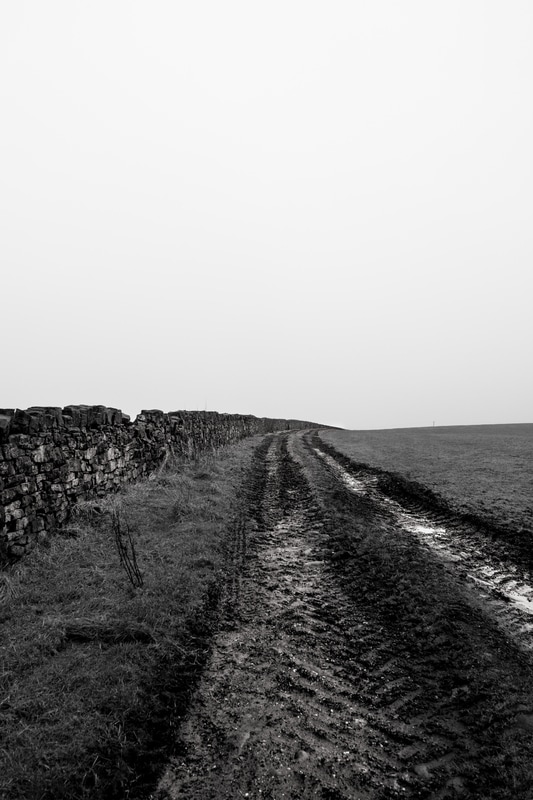
In the first step I started by correcting lens distortion and chromatic aberration in lightroom and then from there exporting the image to photoshop to adjust the crop.

In the first step of the process I did very little. I just corrected lens distortion as i shot this at 17mm which gives a wharping effect.
|
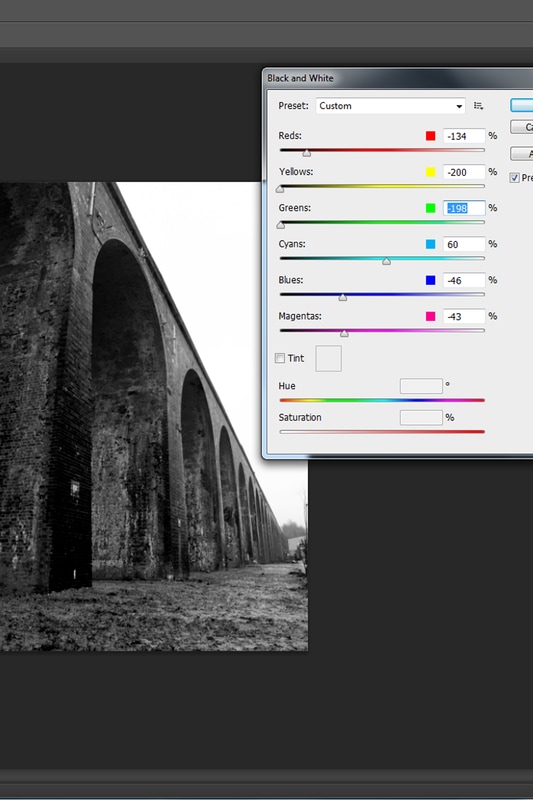
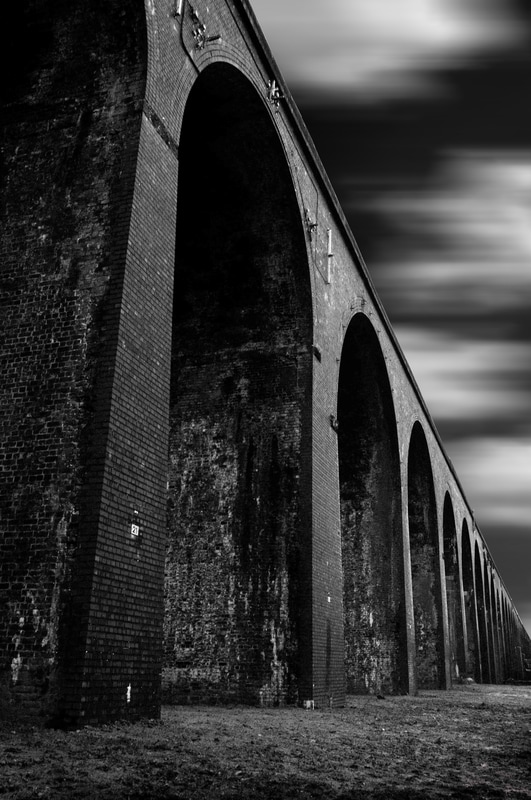
Photoshop allows more options when converting to black and white than lightroom. I adjusted the reds the first as the brick is the most dominant colour in the image.
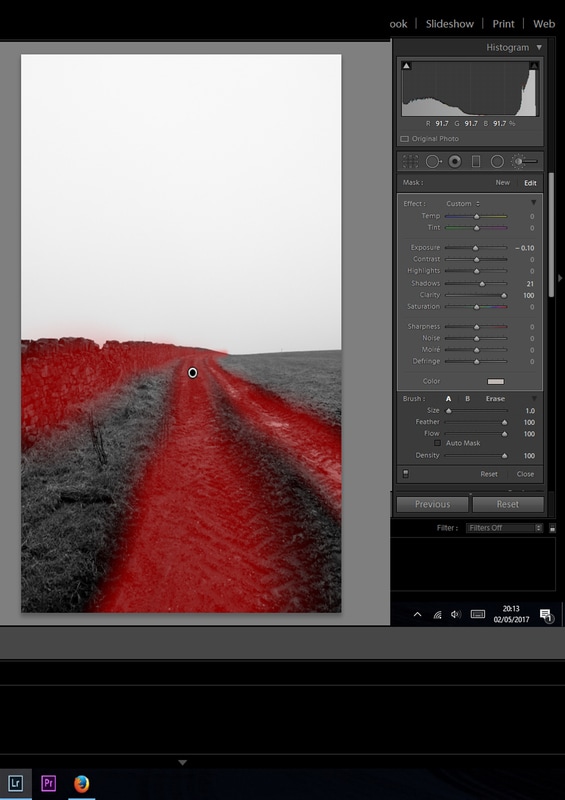
In this step I converted the image to black and white whilst also highlighting the the path and wall using the brush tool in lightroom. I then pumped up the clarity to 100 and brought the blacks down to create definition.
|

I then used the magic wand tool to select the sky to bring the exposure right down and added some motion using the blur filter. This isolates the bridge.
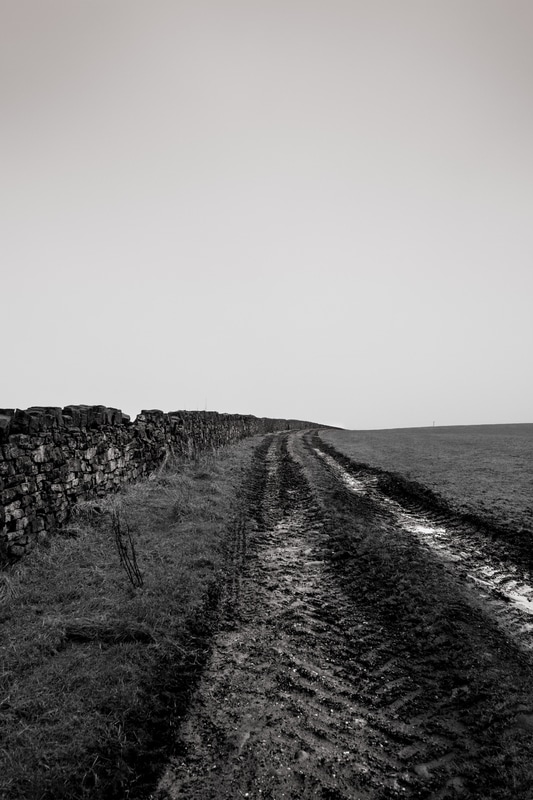
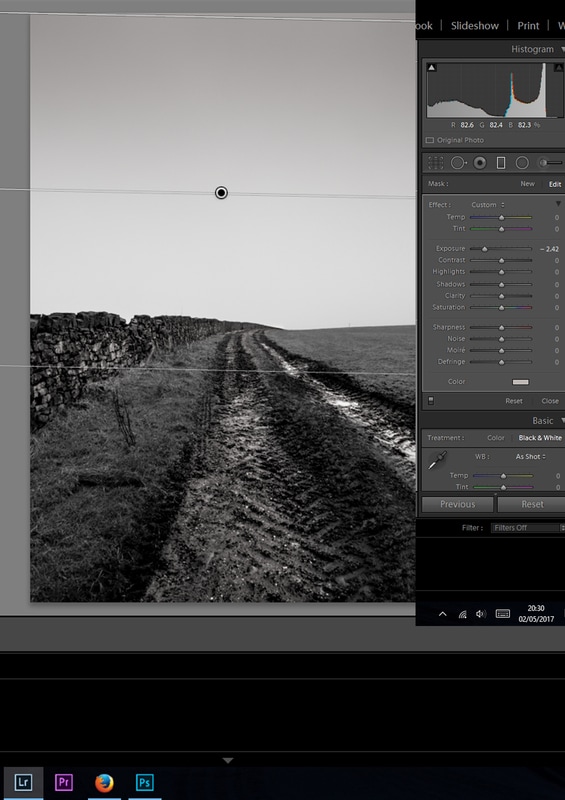
In the final step I added a graduated filter in lightroom to bring the exposure of the flat white clouds down.
|
